Buffalo Add Custom Dashboard Template
Table of Contents

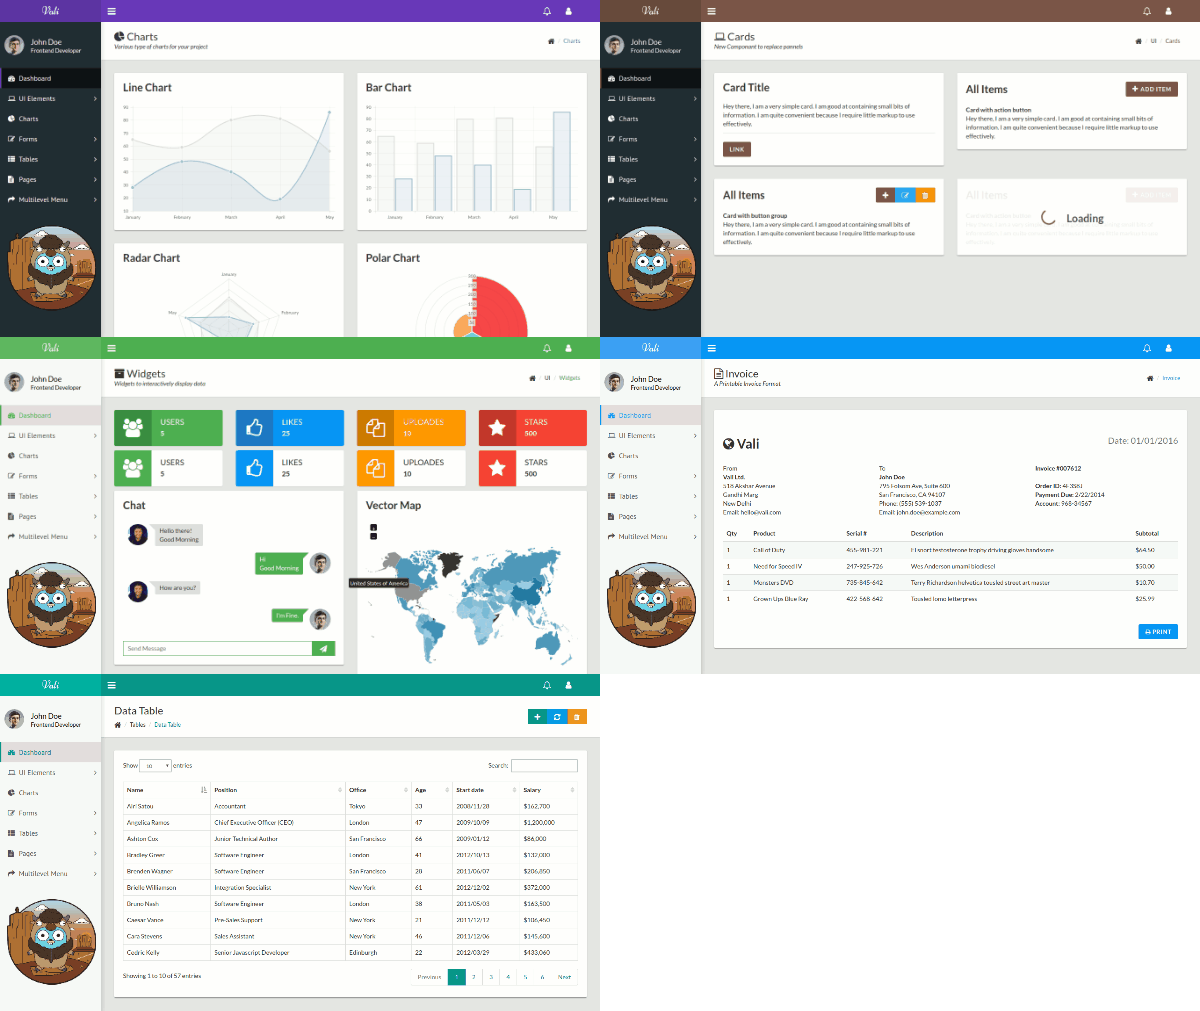
In this tutorial, we add vali-admin dashboard template to a Buffalo application.
Buffalo Project Setup
-
Navigate to your
$GOPATH-cd $GOPATH/src/github.com/$USER/ -
Create a new Buffalo project -
buffalo new valibuffalo -
Change the project directory -
cd valibuffalo -
Create database for the project -
buffalo db create --env development -
Do a test run -
buffalo devand go to localhost:3000/

Prepare vali-admin dashboard template files
-
Go to vali-admin Github page page
-
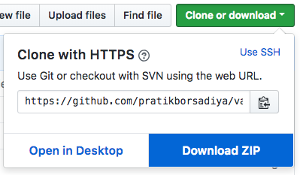
Click on Clone or download button
-
Select Download Zip button to download the compressed source files

-
Extract the downloaded zip file to a folder of your choice
-
From the extracted folder, copy all html files in docs folder to templates folder of the project. Make sure to replace existing index.html.
-
Copy /docs/css/main.css to ./assets/css/main.css
-
Copy /docs/js/main.js to ./assets/js/main.js
Update assets/css/application.scss
-
Open assets/css/application.scss and comment out bootstrap import line
-
Add
@import "./main.css";belowfont-awesome.css.When completed, the file should have the following contents:
// File: assets/css/application.scss
// @import "~bootstrap/scss/bootstrap.scss";
@import "~font-awesome/css/font-awesome.css";

@import "./main.css";
Update assets/js/application.js
-
Open assets/js/application.js and insert
require("./main.js");belowrequire("bootstrap/dist/js/bootstrap.bundle.js");After you have completed the above step, the file contents should be similar to the following:
// File: assets/js/application.js
require("expose-loader?$!expose-loader?jQuery!jquery");
require("bootstrap/dist/js/bootstrap.bundle.js");

require("./main.js");

$(() => {

});
Update templates/index.html
-
Open templates/index.html and delete
<!DOCTYPE html>and<html lang="en">opening tags and all contents within the<head>section. Also delete opening<body class="app sidebar-mini rtl">tag -
Scroll down the page and remove the following lines below
</main>tag<!-- Essential javascripts for application to work--> <script src="js/jquery-3.2.1.min.js"></script> <script src="js/popper.min.js"></script> <script src="js/bootstrap.min.js"></script> <script src="js/main.js"></script> <!-- The javascript plugin to display page loading on top--> <script src="js/plugins/pace.min.js"></script> <!-- Page specific javascripts--> <script type="text/javascript" src="js/plugins/chart.js"></script> -
Move further down the page and delete the Google Analytics script above
</body>tag. We retain the charts data script as we will need it as we continue. -
Scroll down and remove
</body>and</html>closing tags -
Open templates/application.html and replace opening
<body>tag with<body class="app sidebar-mini rtl">
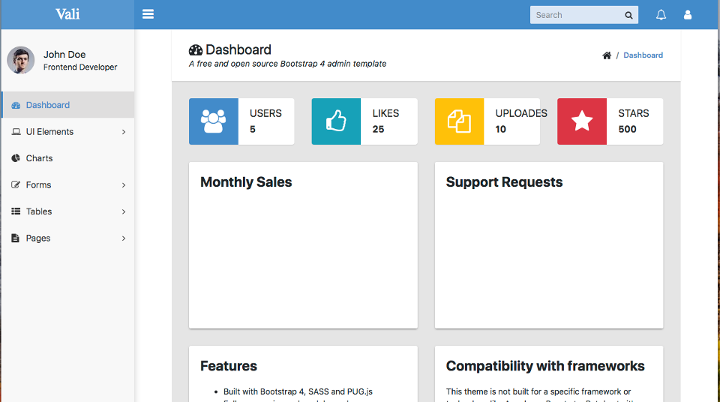
First Theme Test
From a Terminal, run buffalo dev and go to localhost:3000/

Move Top Nav Header to separate file
-
Create _app-header-nav.html partial file in templates folder
-
Move
<header>contents in index.htnl starting from<header class="app-header"><a class="app-header__logo" href="index.html">Vali</a>and ending at<\header>to _app-header-nav.html. After this step, your _app-header-nav.html contents should resemble the following extract.<!-- Navbar--> <header class="app-header"><a class="app-header__logo" href="index.html">Vali</a> <!-- Sidebar toggle button--> <a class="app-sidebar__toggle" href="#" data-toggle="sidebar" aria-label="Hide Sidebar"></a> <!-- Navbar Right Menu--> <ul class="app-nav"> <li class="app-search"> ... </ul> </header> -
Replace href=“index.html” in the _app-header-nav.html file with href="/"
Move Side Menu Header to Separate File
-
Create _app-side-nav.html partial file in templates folder
-
Move all contents (in index.html) starting from
<!-- Sidebar menu-->and ending at<\aside>to _app-side-nav.html. After this step, your _app-side-nav.html contents should resemble the following extract.<!-- Sidebar menu--> <div class="app-sidebar__overlay" data-toggle="sidebar"></div> <aside class="app-sidebar"> <div class="app-sidebar__user"> ... </aside> -
Delete opening
<main class="app-content">tag -
Scroll down and also remove
</main>closing tag -
Replace href=“index.html” in the _app-side-nav.html file with href="/"
Move Application Title to Separate File
-
Create _app-title.html partial file in templates folder
-
Move all contents (in index.html) starting from
<div class="app-title">upto the closing<\div>tag to _app-title.html. After this step, your _app-title contents should resemble the following:<div class="app-title"> <div> <h1><i class="<%= task-icon %>"></i> <%= task-title %></h1> <p><%= task-desc %></p> </div> <ul class="app-breadcrumb breadcrumb"> <li class="breadcrumb-item"><i class="fa fa-home fa-lg"></i></li> <li class="breadcrumb-item"><a href="#"><%= task-title %></a></li> </ul> </div>
We have used tags <%= task-icon %>, <%= task-title %> and <%= task-desc %> so that during runtime, the tags will be dynamically rendered.
Update application.html With the Partials
-
Open templates/application.html
-
Replace opening
<div class="container">tag in templates/application.html with<main class="app-content">and replace the closing<\div>with<\main> -
Insert
<%= partial("app-header-nav.html") %>and<%= partial("app-side-nav.html") %>in application.html below the starting<body>tag. The<%= partial("app-title.html") %>should be placed after<main class="app-content">.<body class="app sidebar-mini rtl"> <%= partial("app-header-nav.html") %> <%= partial("app-side-nav.html") %> <main class="app-content"> <%= partial("app-title.html") %> <%= partial("flash.html") %> <%= yield %> </main> <%= javascriptTag("application.js") %> </body>
Update Route Handlers
-
Replace contents of actions/home.go with the following:
// actions/home.go package actions import "github.com/gobuffalo/buffalo" // HomeHandler is a default handler to serve up // a home page. func HomeHandler(c buffalo.Context) error { c.Set("task-title", "Dashboard") c.Set("task-icon", "fa fa-dashboard") c.Set("task-desc", "A free and open source Bootstrap 4 admin template") return c.Render(200, r.HTML("index.html")) } // ChartsHandler testing dynamic content handling of vali-admin theme func ChartsHandler(c buffalo.Context) error { c.Set("task-title", "Charts") c.Set("task-icon", "fa fa-pie-chart") c.Set("task-desc", "Various type of charts for your project") return c.Render(200, r.HTML("charts.html")) } -
Add
app.GET("/charts", ChartsHandler)in actions/app.go belowapp.GET("/", HomeHandler).// actions/app.go // Setup and use translations: app.Use(translations()) app.GET("/", HomeHandler) app.GET("/charts", ChartsHandler)
Setting up Charts
-
Install Charts plugin by running
yarn add chart.json the terminal window -
Modify application.js to include
require("chart.js");beforerequire("./main.js");// File: assets/js/application.js require("expose-loader?$!expose-loader?jQuery!jquery"); require("bootstrap/dist/js/bootstrap.bundle.js"); require("chart.js"); require("./main.js"); $(() => { });
Customize Custom Page Scripts
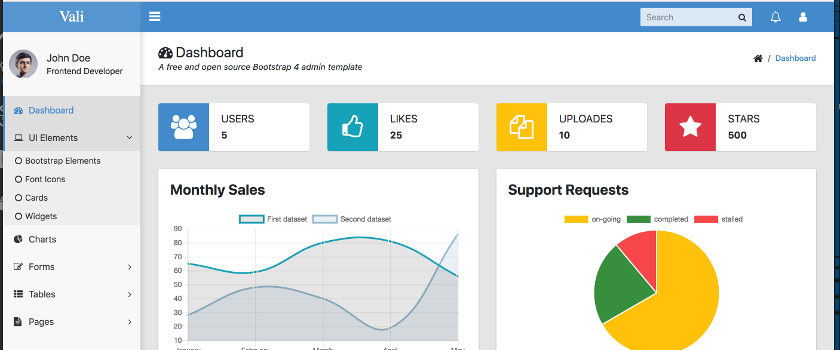
The index.htnl page has a custom script. As it is now, the script will render before application.js in the browser. This will prevent the charts from displaying. If you inspect the page in the browser, you will notice a ReferenceError $ is not defined.
To remedy the error and display the charts, use the following steps:
-
Enclose the page custom script in index.html in a
contentFor("pageScript")helper.<% contentFor("pageScript") { %> <script> ... var ctxl = $('#lineChartDemo').get(0).getContext('2d'); var lineChart = new Chart(ctxl, {type:'line', data: data}); var ctxp = $('#pieChartDemo').get(0).getContext('2d'); var pieChart = new Chart(ctxp, {type: 'pie', data: pdata}); </script> <% } %> -
In application.html layout file, we add a
contentOf("pageScript")helper below<%= javascriptTag("application.js") %>.<body class="app sidebar-mini rtl"> <%= partial("app-header-nav.html") %> <%= partial("app-side-nav.html") %> <main class="app-content"> <%= partial("app-title.html") %> <%= partial("flash.html") %> <%= yield %> </main> <%= javascriptTag("application.js") %> <%= contentOf("pageScript") %>
